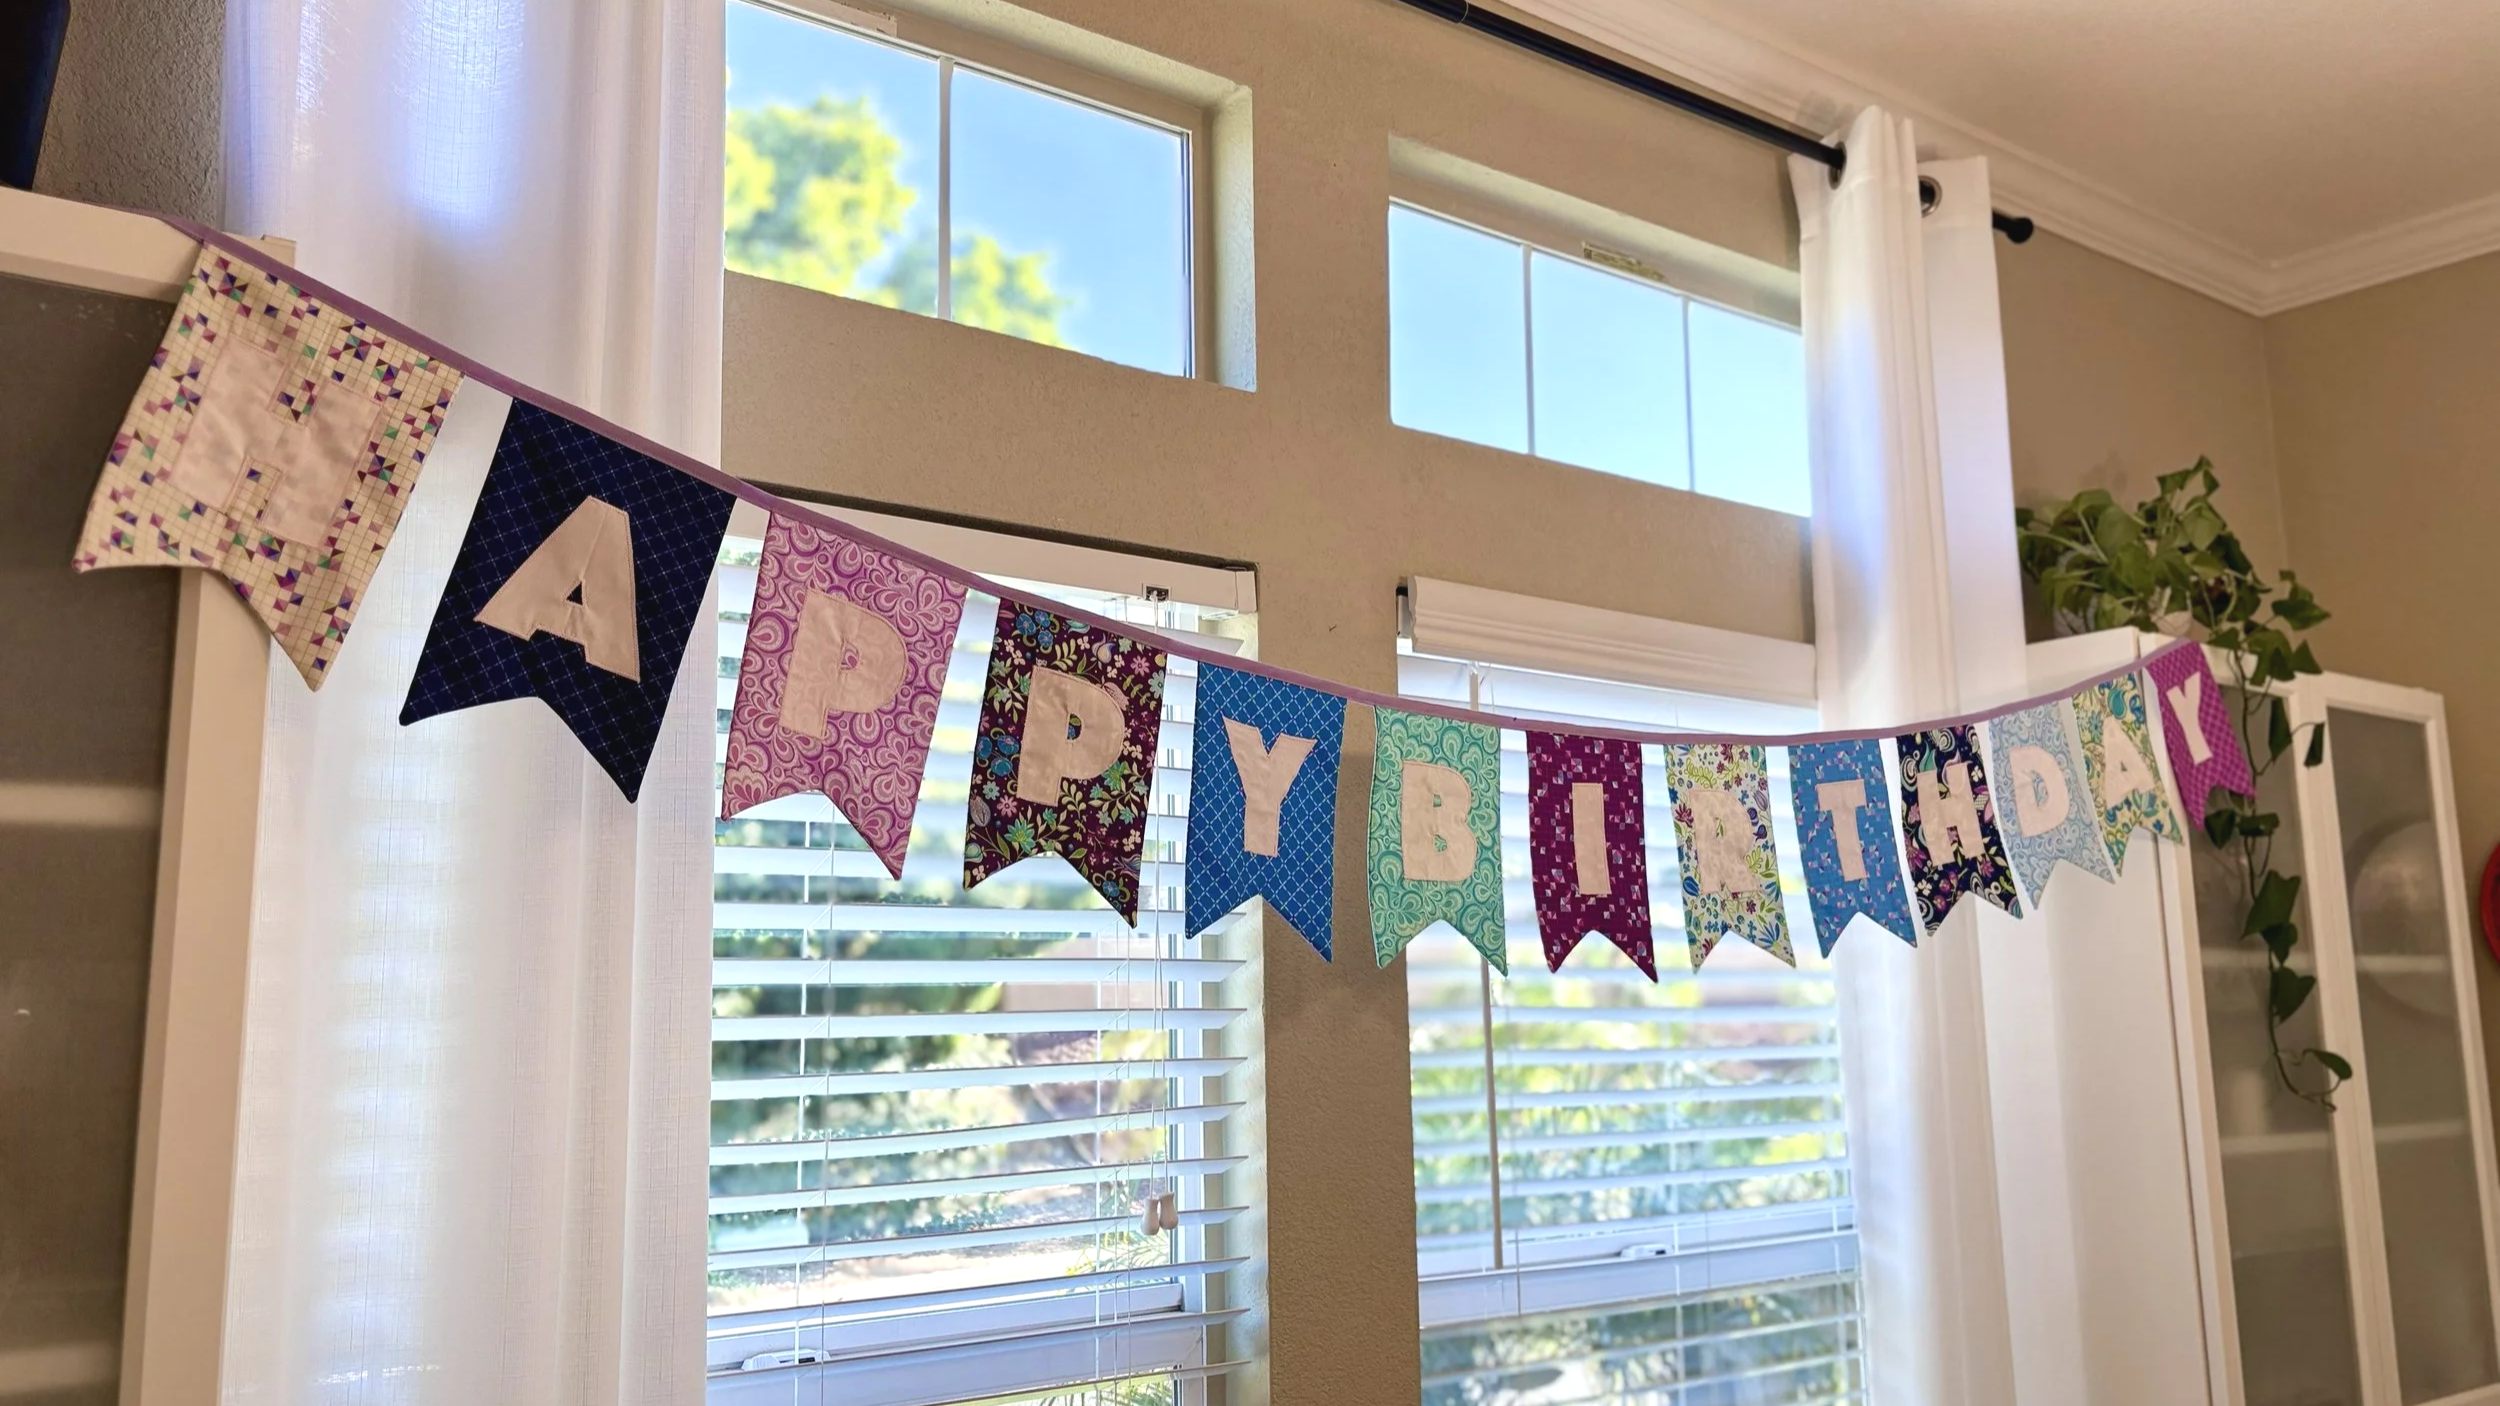
DIY Fabric Birthday Banner (Free Pattern!)
Birthdays have always been one of my favorite things.
Maybe it’s the millennial in me. Maybe it’s the nostalgia…who knows? But these days, life looks a little different for me.
I’m a mom to a two-year-old, currently growing baby #2, and discovering very quickly that celebrations hit differently when you’re building a family of your own.
And while I love an impromptu Target run, I also wanted something a little more personal. So I made this fabric birthday banner that we can(hopefully!) use year after year.
And because I know I’m not the only mom and maker who dreams of creating meaningful family traditions without spending a fortune on disposable décor, I turned this project into a *free pattern* you can make too!
[ GET THE FREE PATTERN BUNDLE FROM THE SHOP NOW ]
Includes:
✓ printable banner templates
✓ alphabet templates
✓ supply list
✓ quick assembly guide
Why Make a Fabric Birthday Banner?
Besides being ridiculously cute? This project checks a lot of boxes for me.
✓ reusable birthday décor
✓ beginner friendly sewing
✓ scrap and stash friendly
✓ customizable for names, ages, holidays, and celebrations
✓ one of those projects that can quietly become part of your family's traditions
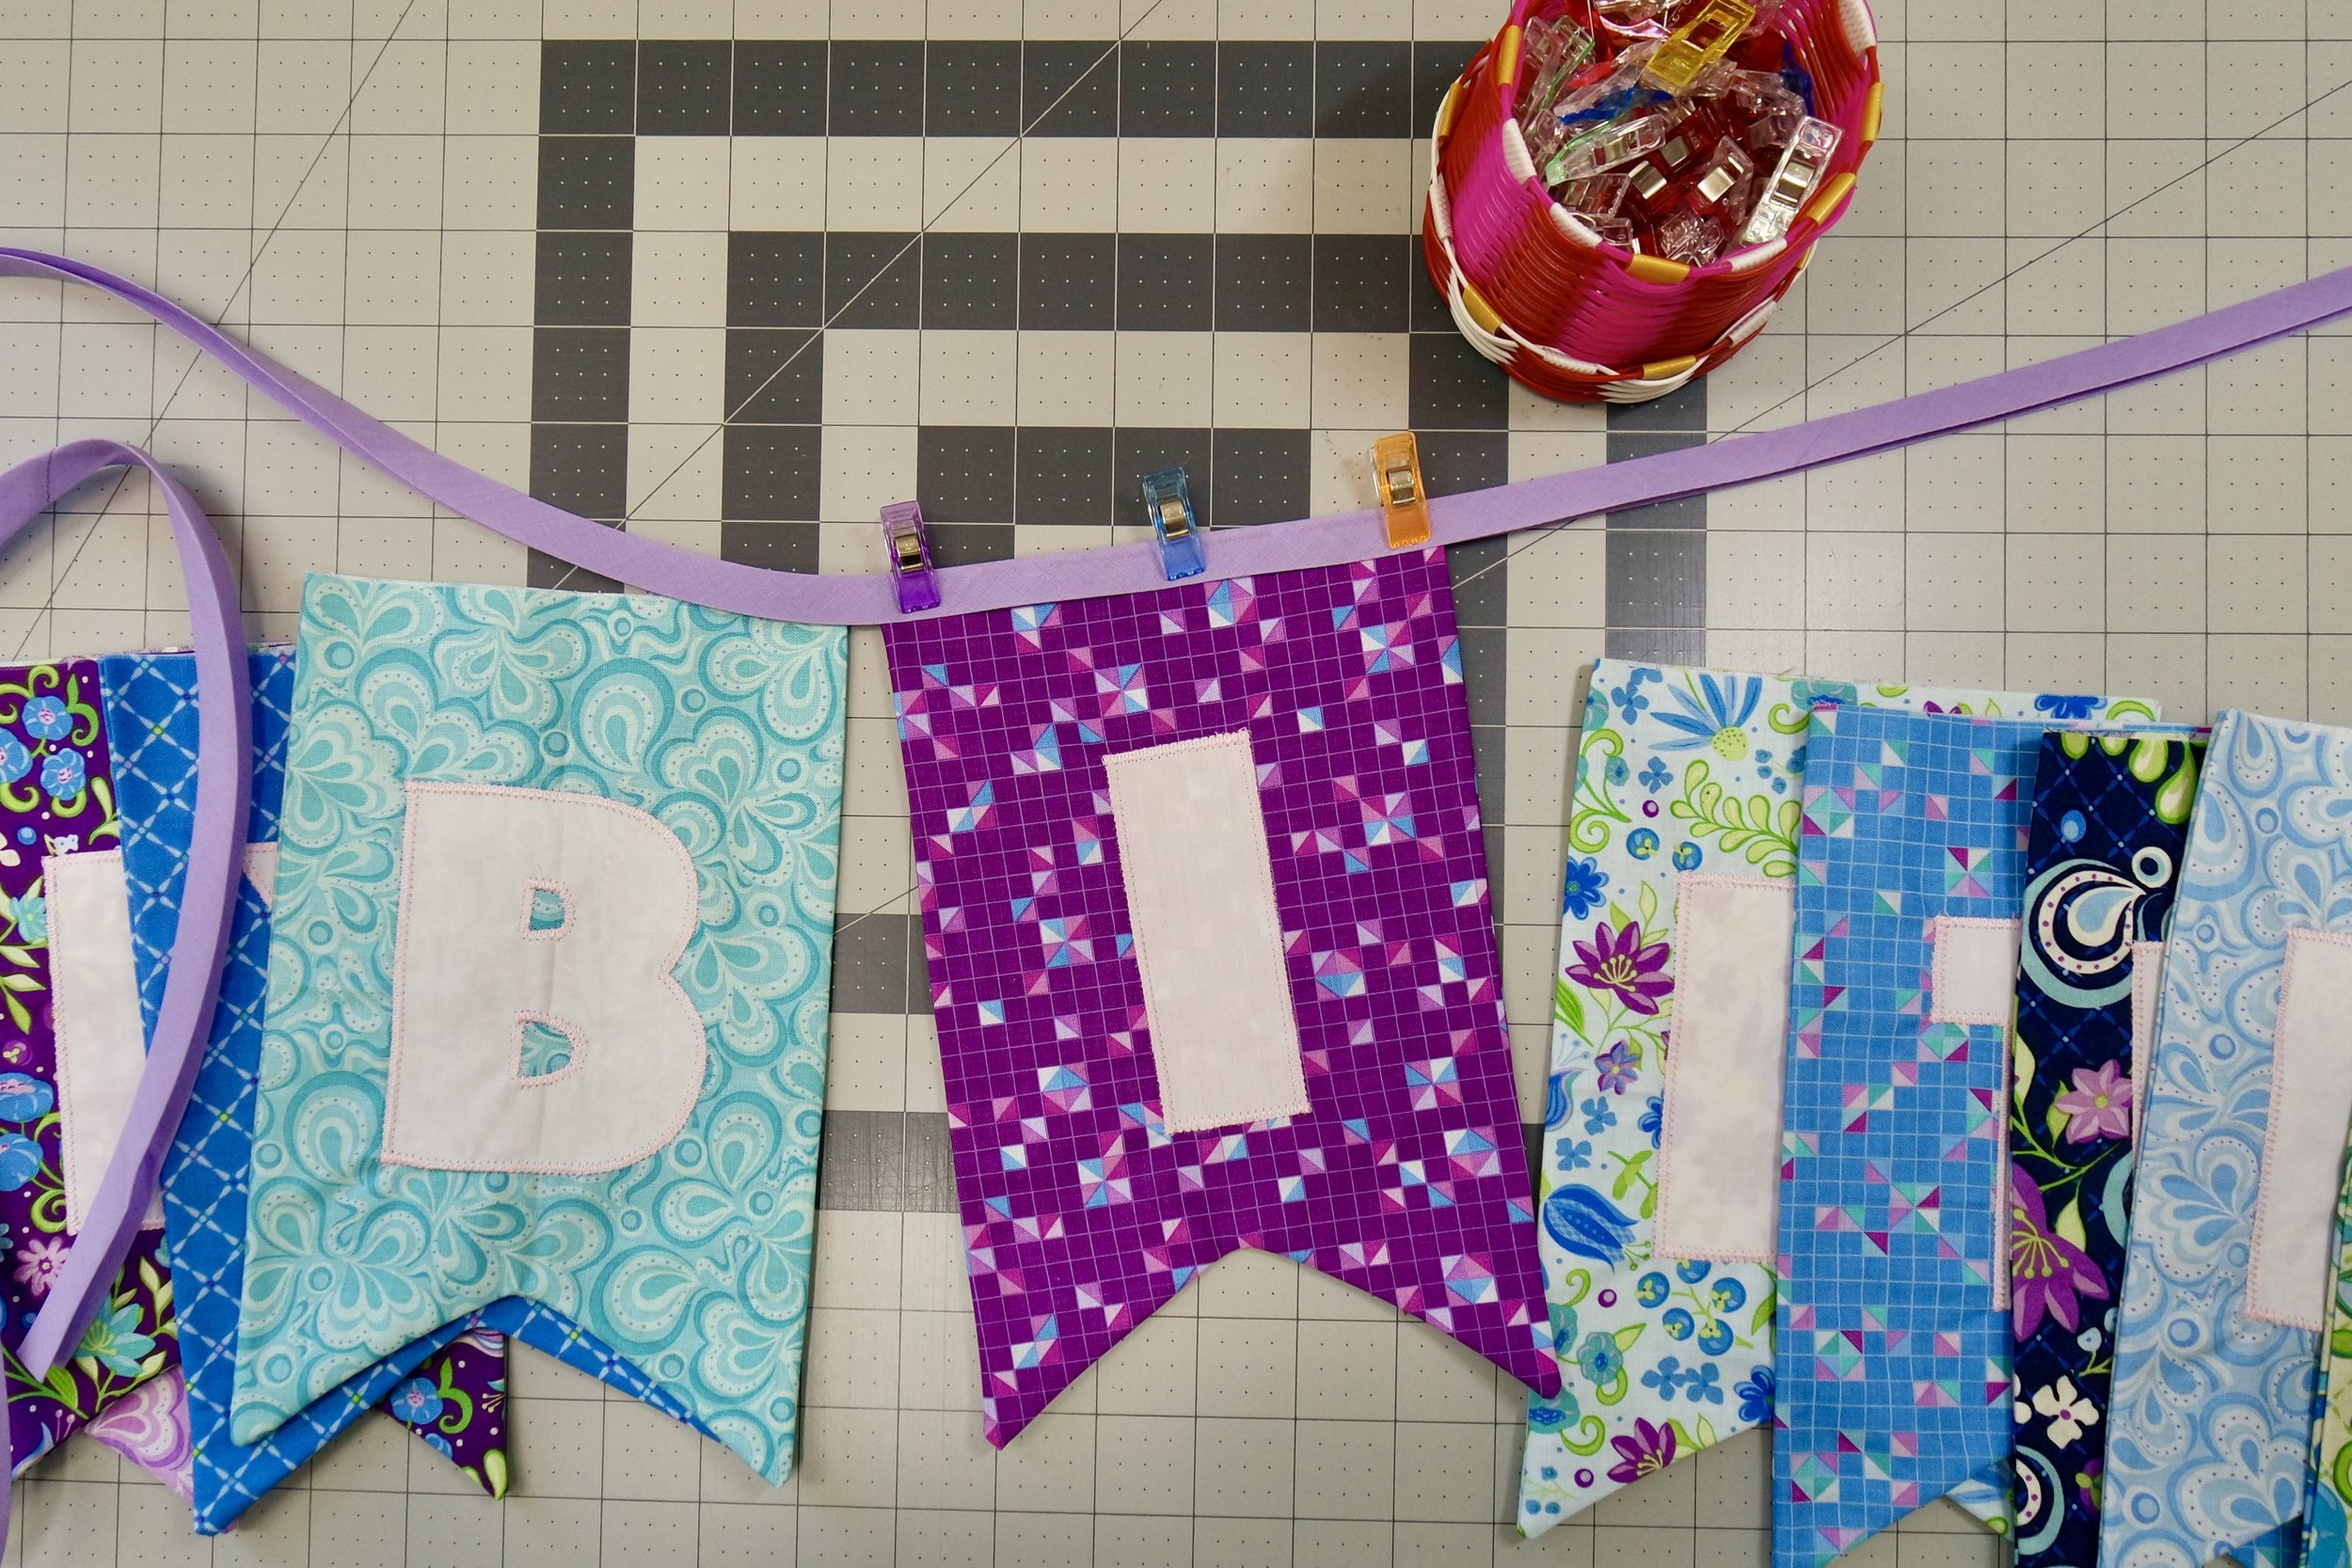
I used the beautiful Twilight Serenade collection by Benartex for this version because I wanted lots of color, personality, and playful prints that felt celebration-worthy.
Let's Get Started!
Let's Get Started!
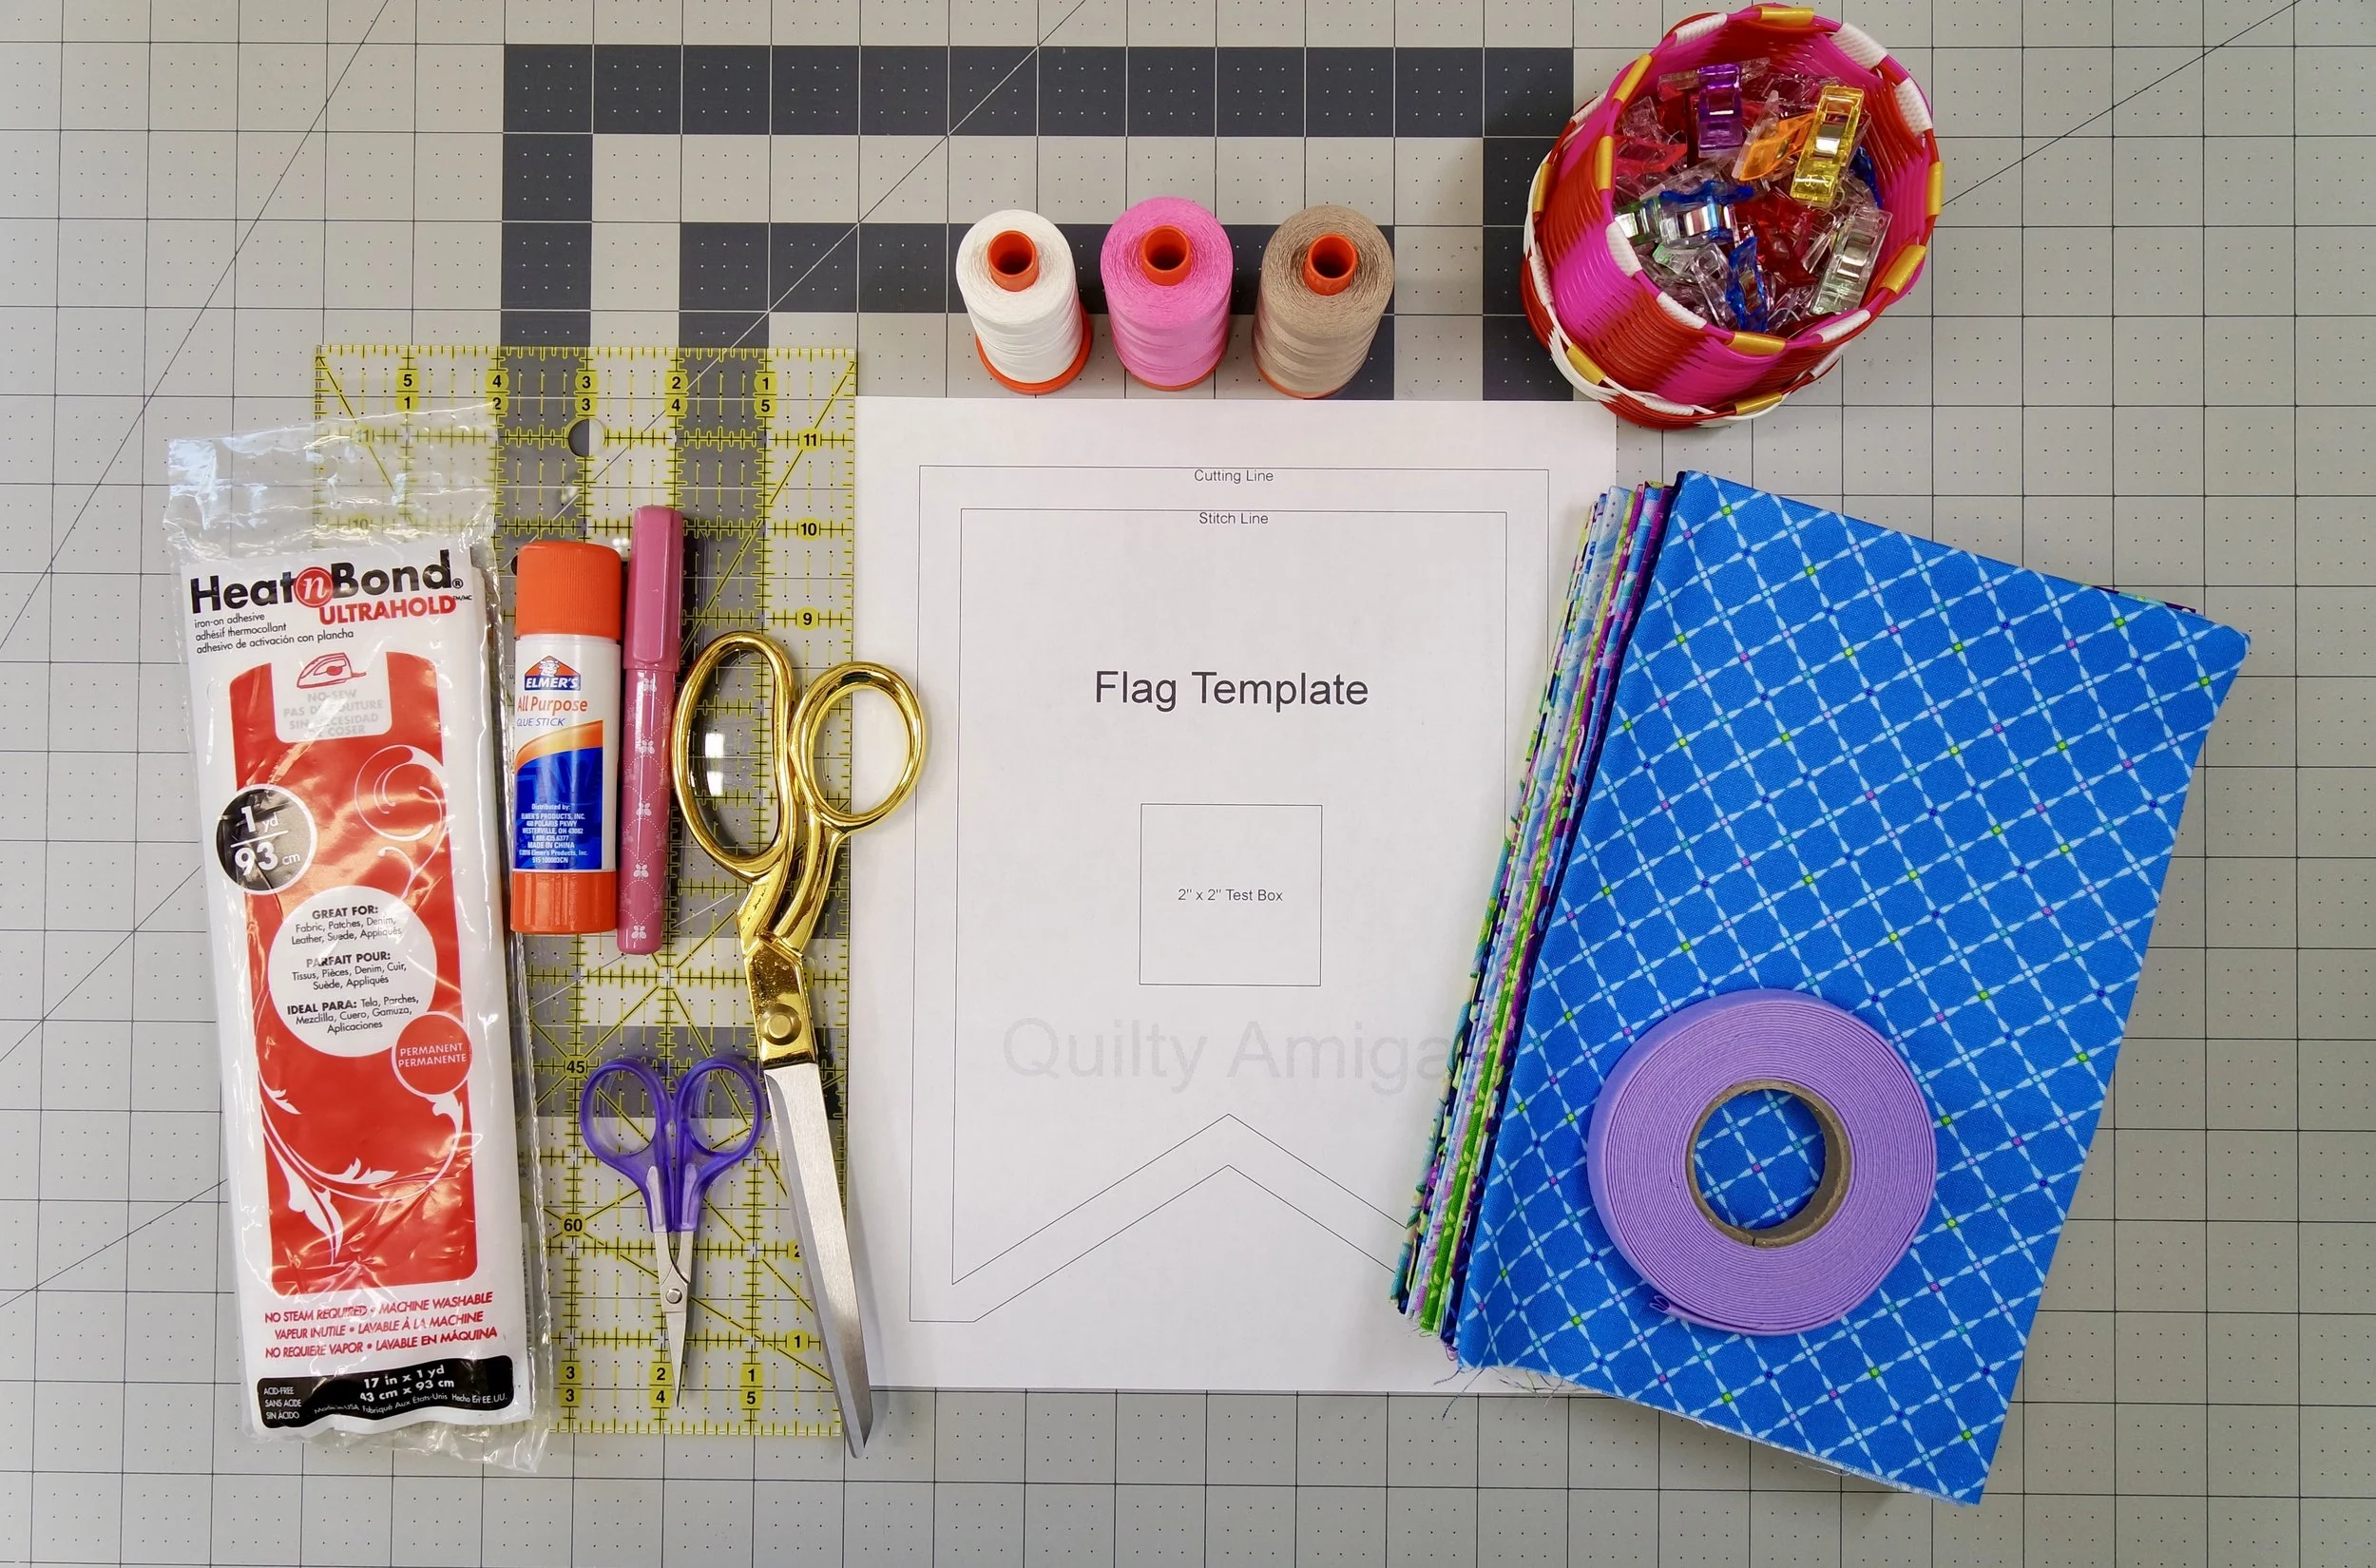
Here’s What You'll Need
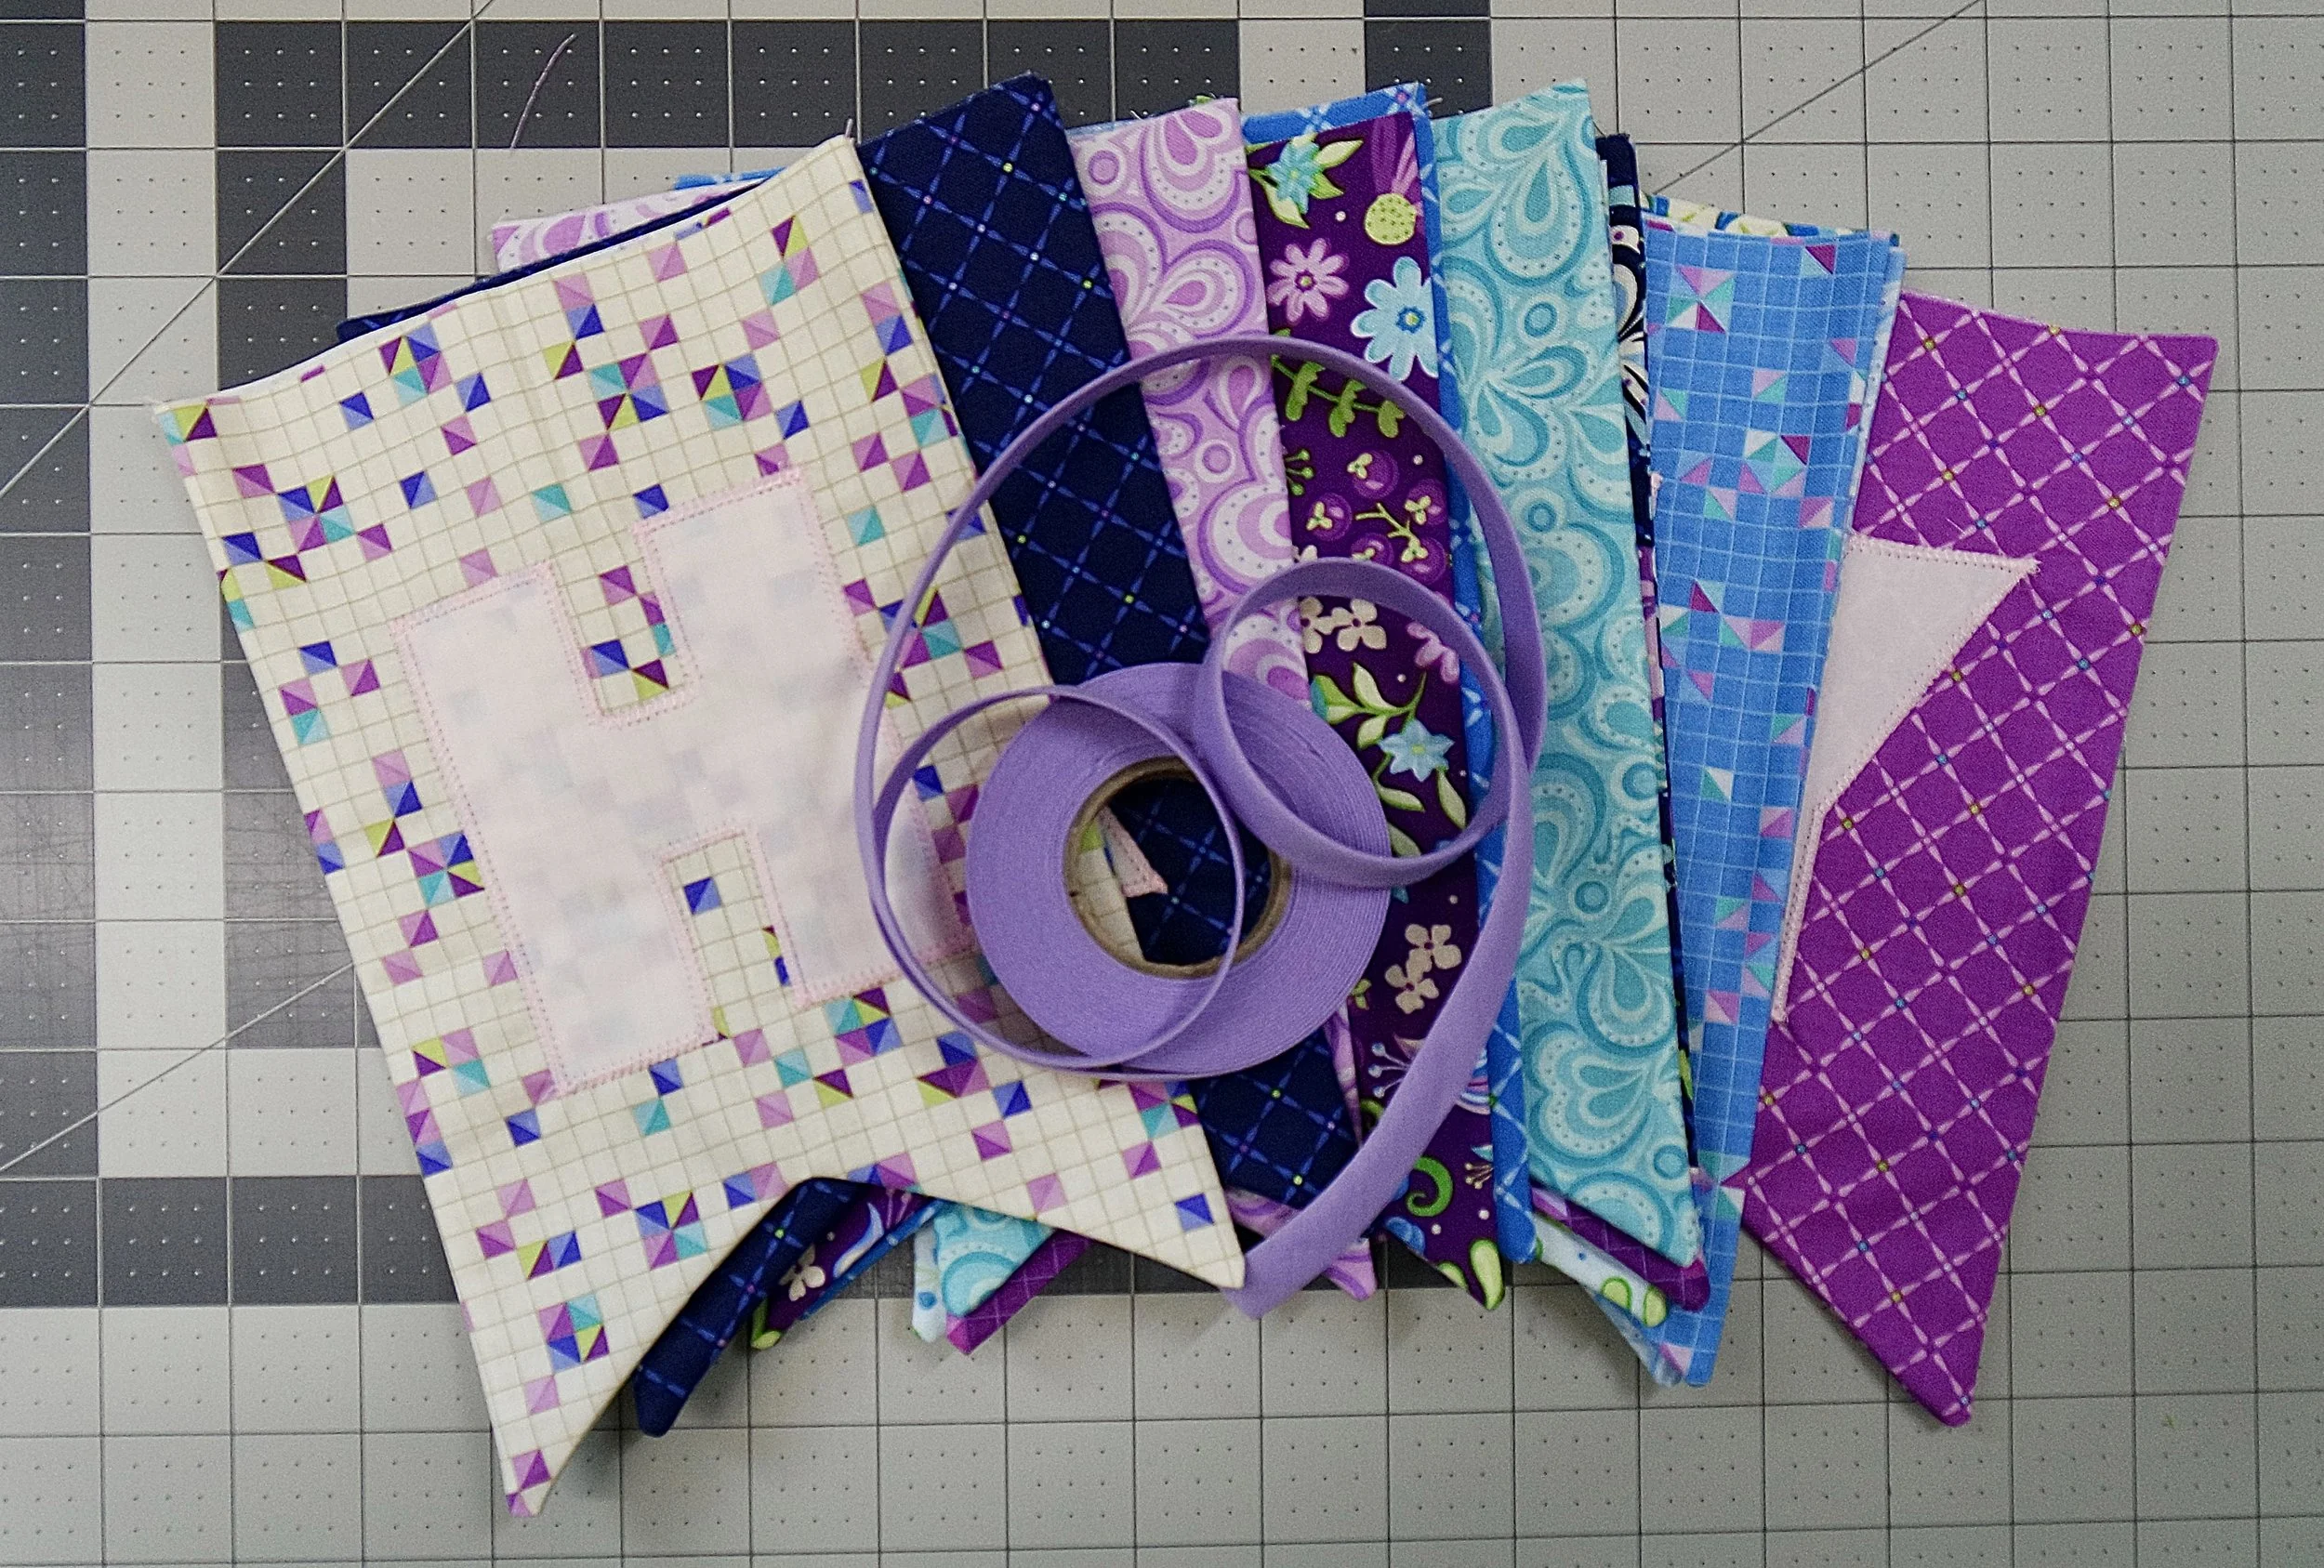
Fabric scraps or fat quarters - I used one distinct fabric pattern for each flag(13 total FQs).
Coordinating solid fabric for letters. Amount depends on length of word/phrase you are spelling. I used about 1/8 yard for 13 letters.
Fusible web / appliqué adhesive / fabric glue
Bias tape - I used double fold bias tape, and recommend at least 4 yards.
Coordinating thread
Sewing machine
Scissors or rotary cutter
Printable templates
Erasable fabric marking pen/tool
Wonder clips or pins
Point turner
Follow the steps below to make your own.
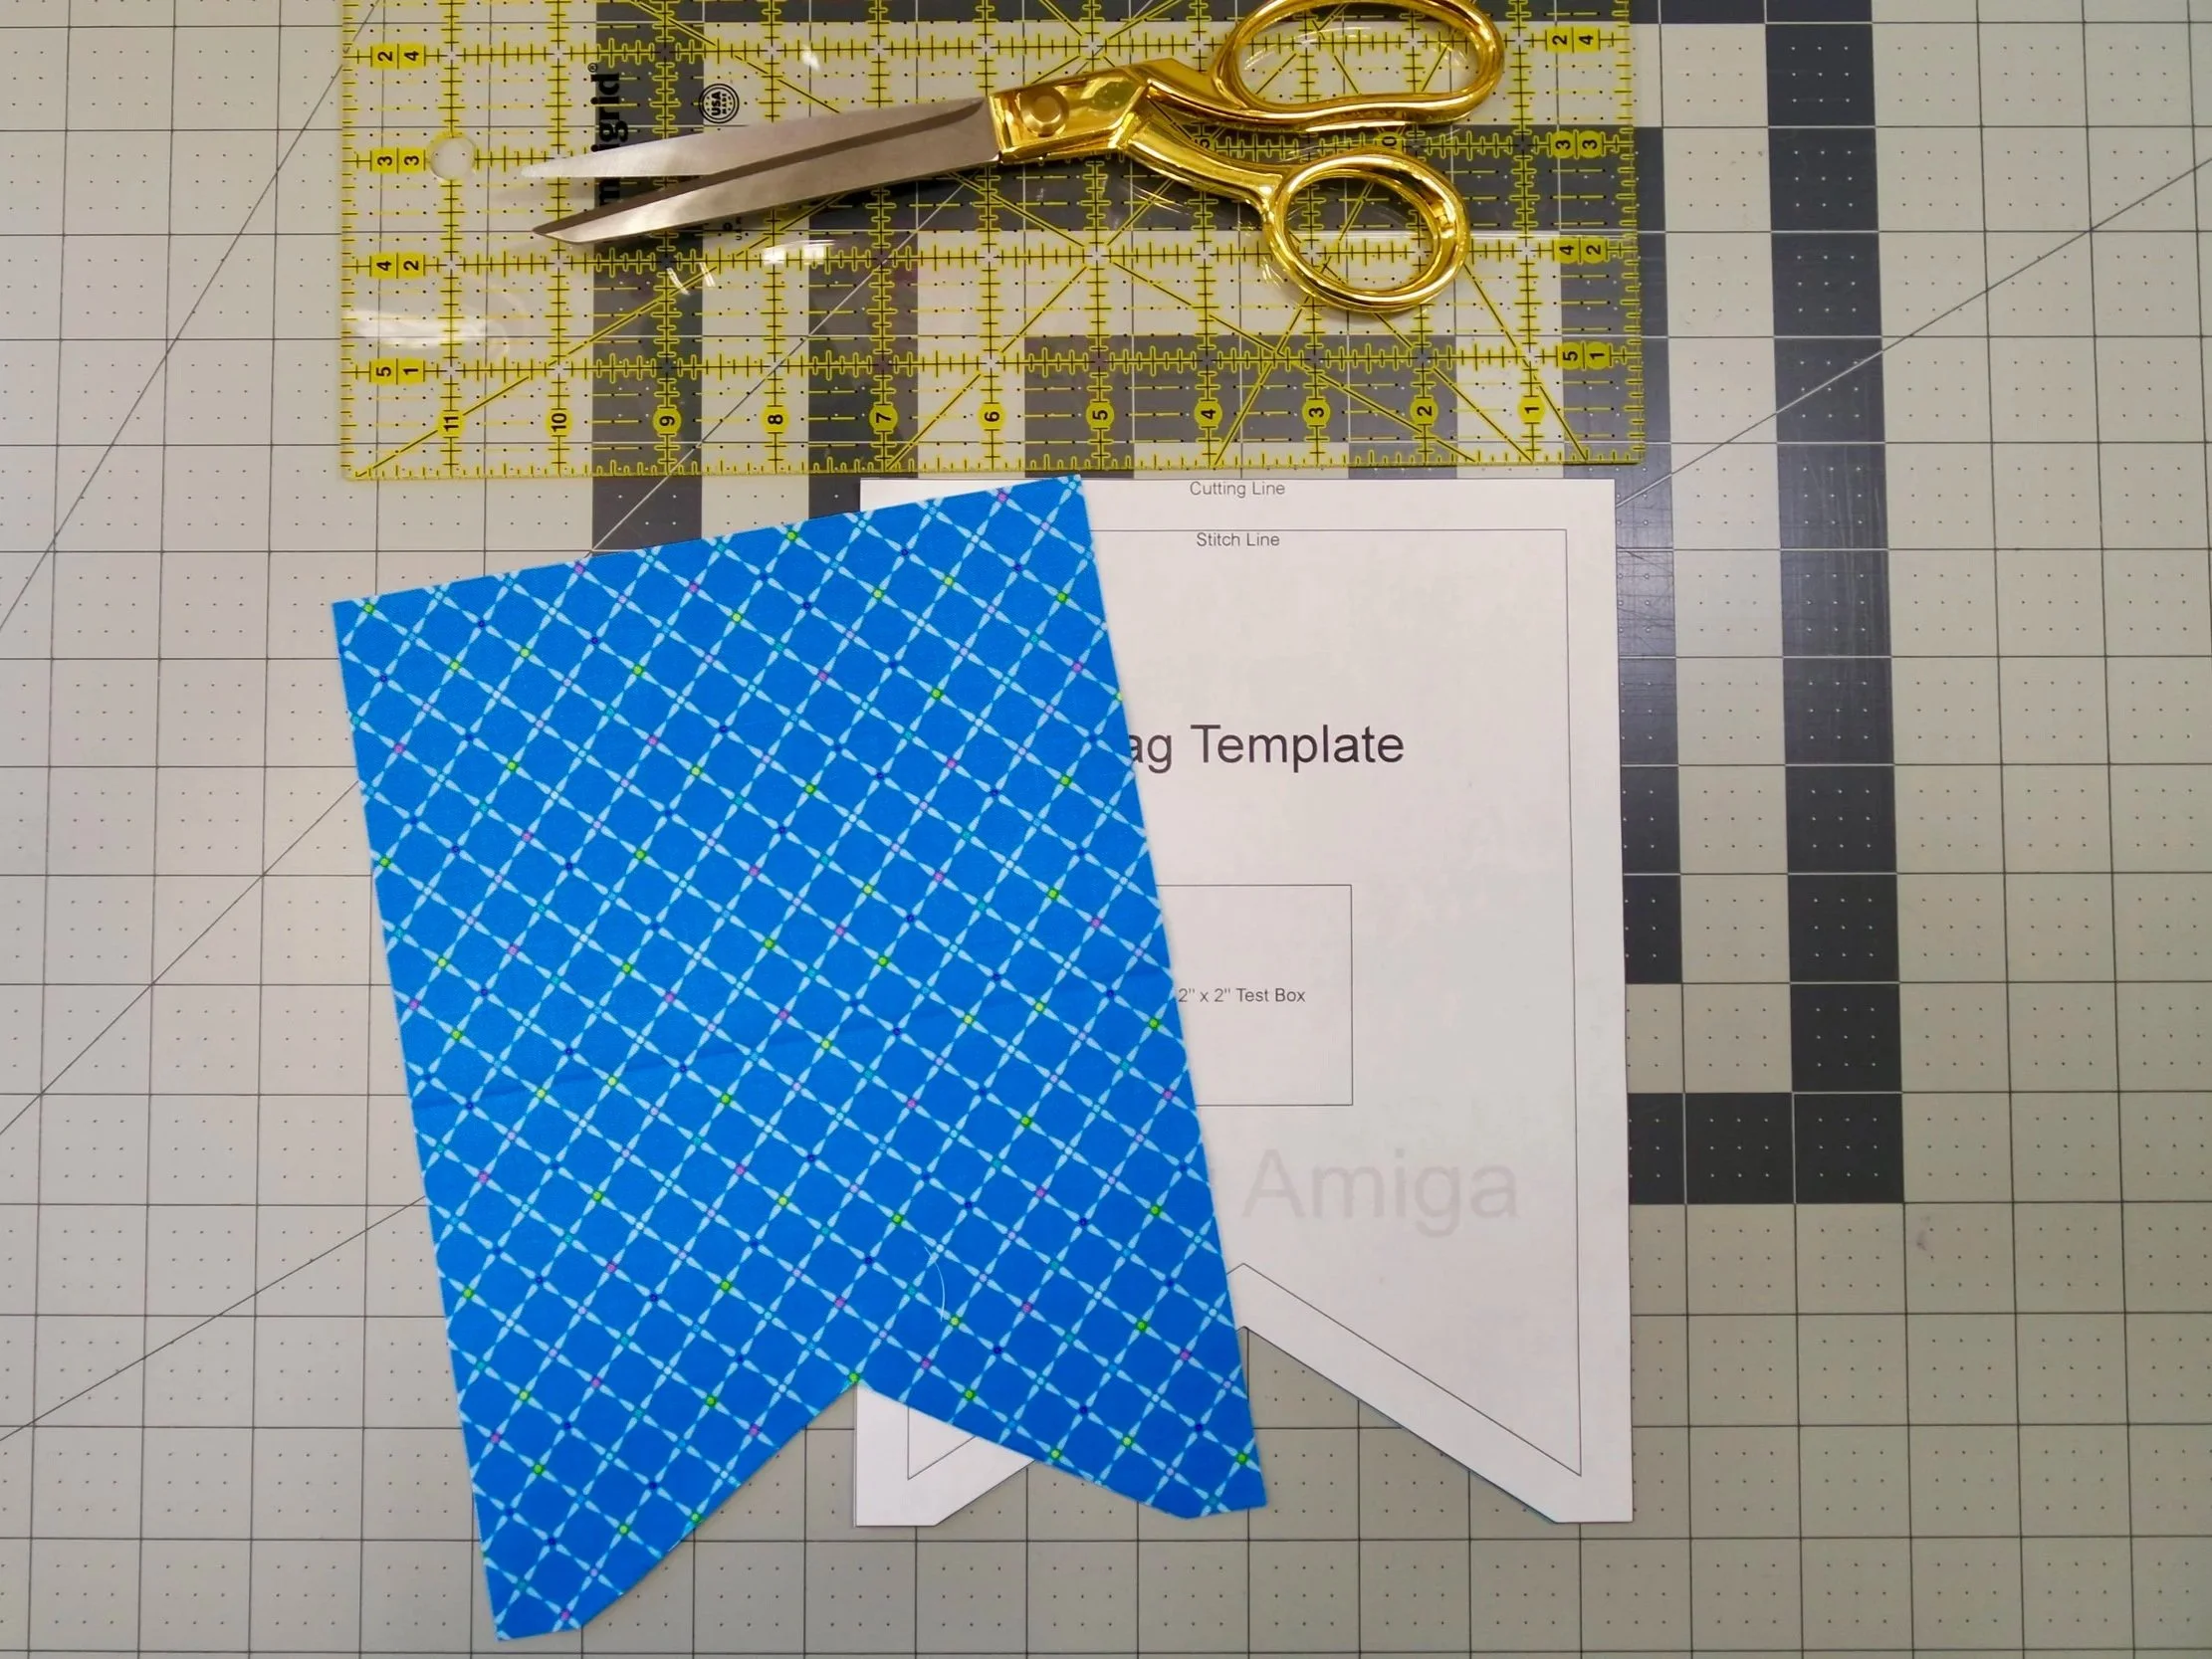
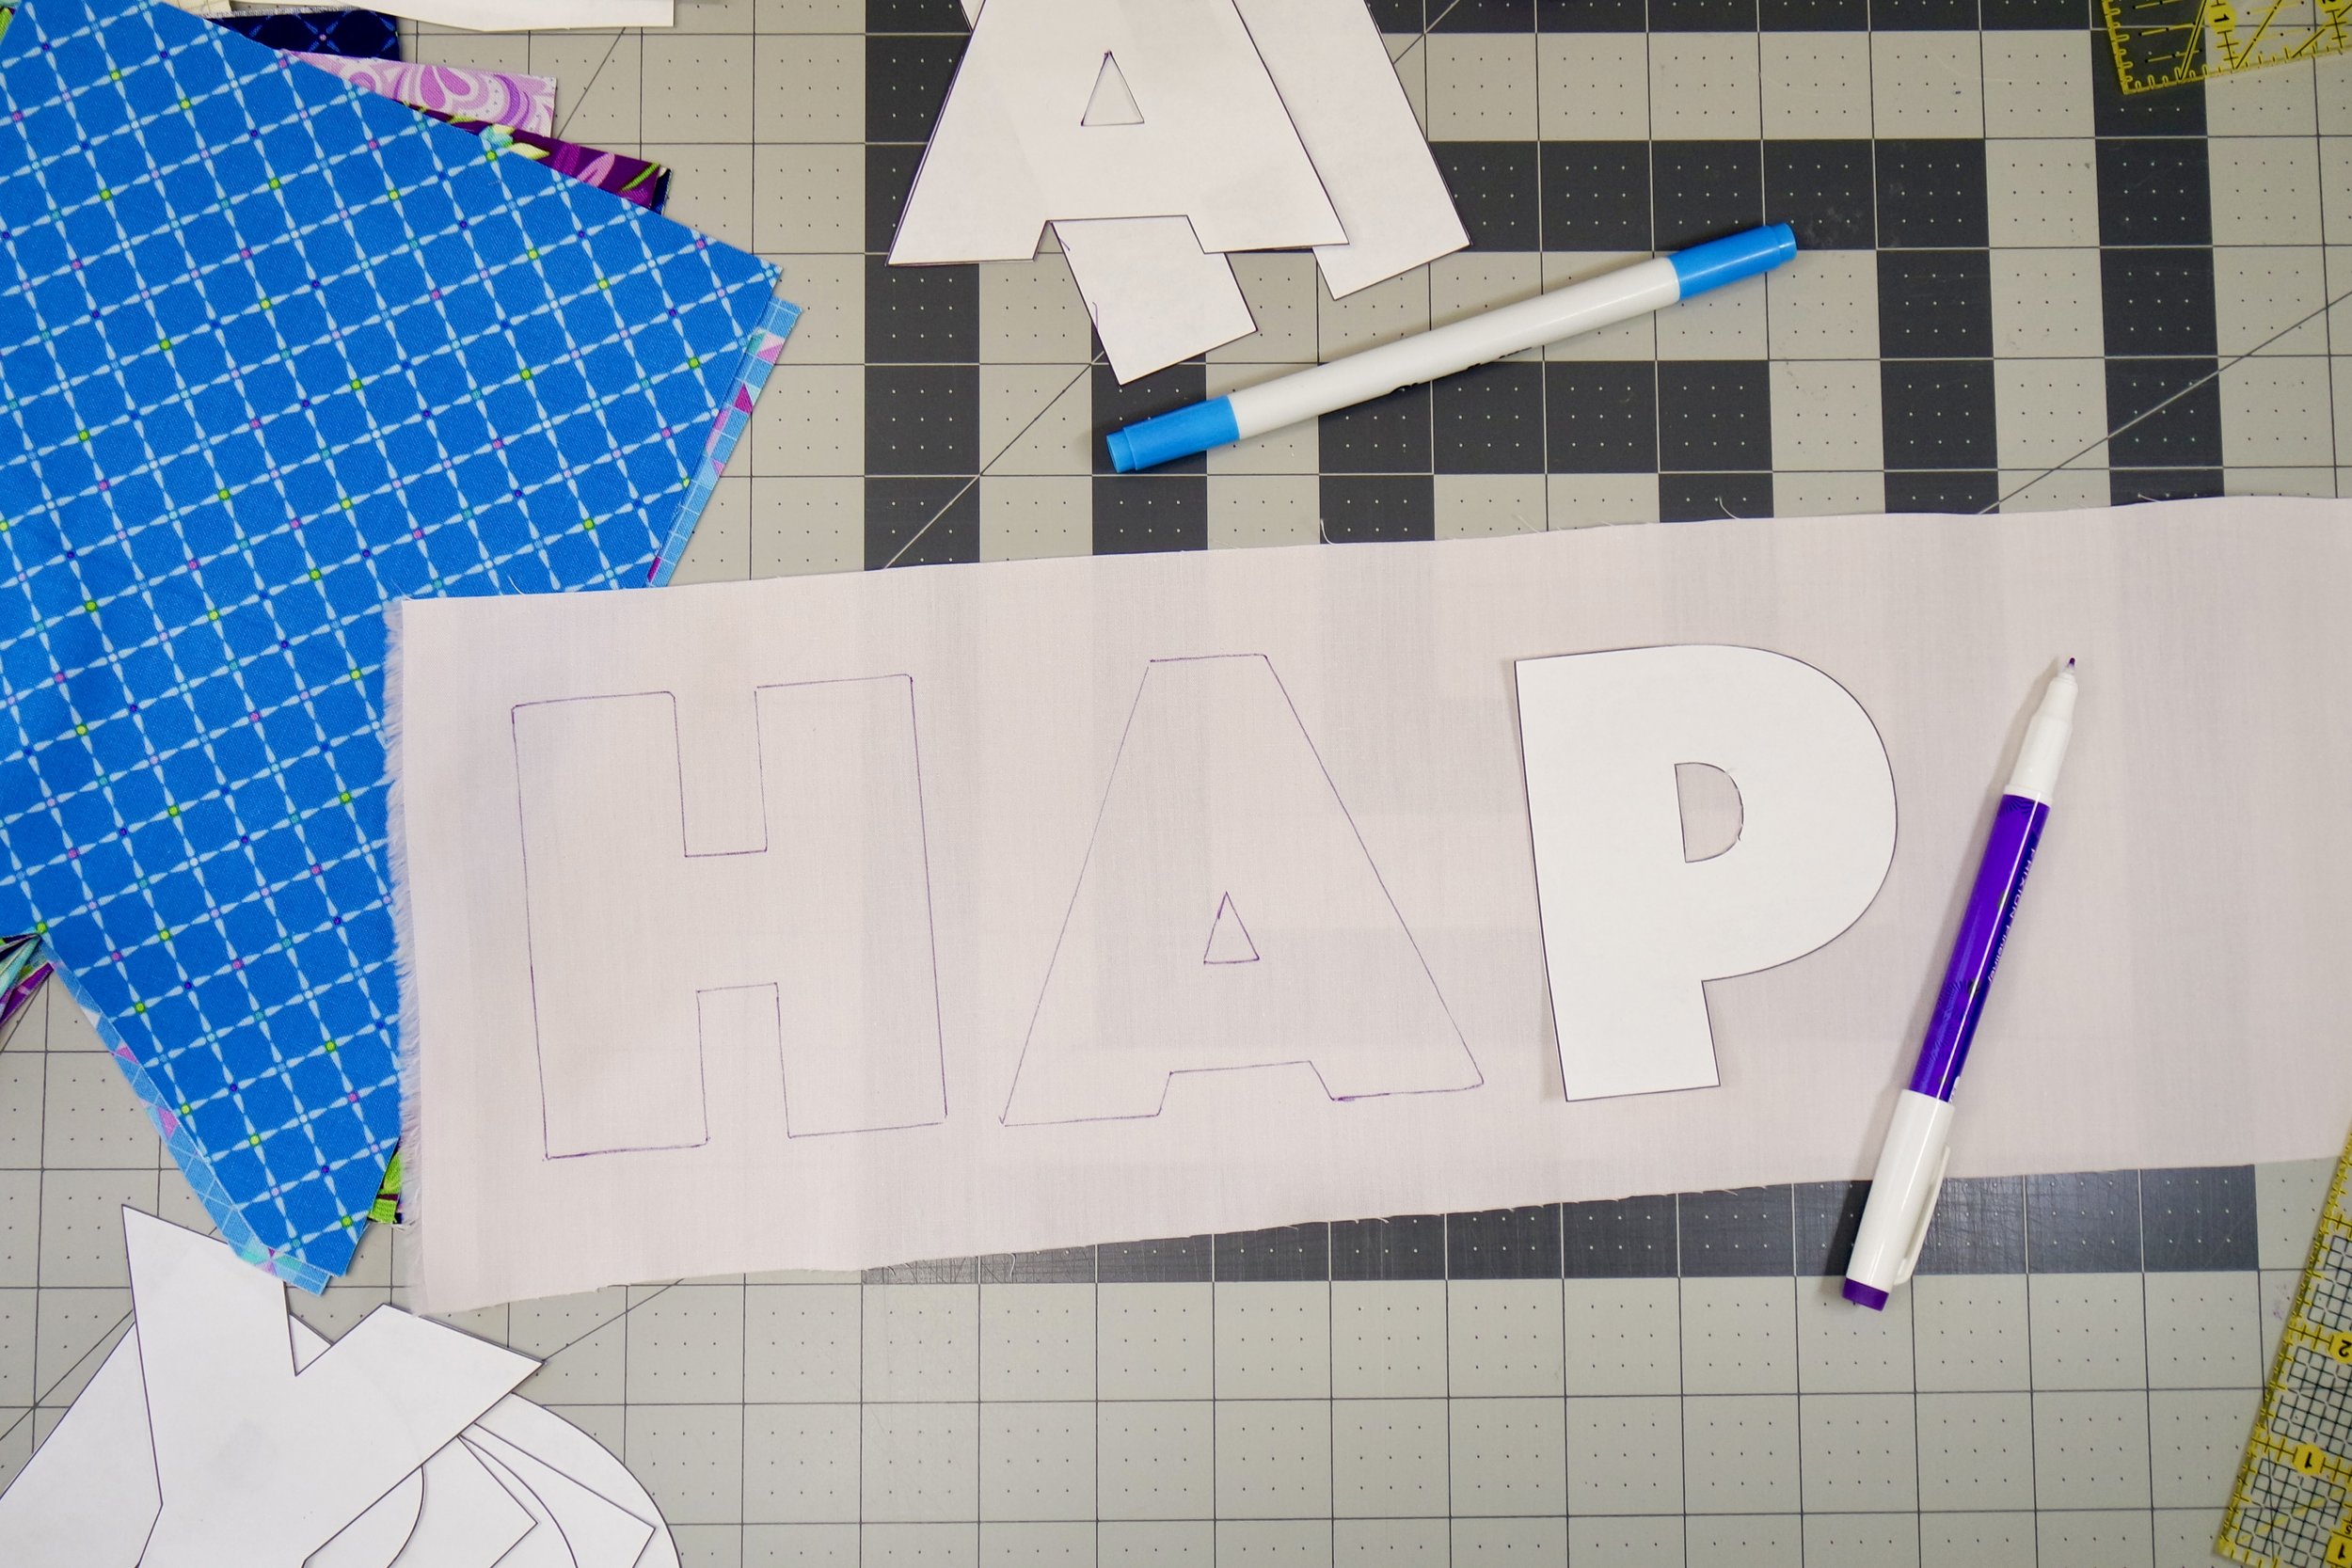
Step 1: Print & Cut Your Templates
Start by printing your banner flag and letter templates. Make sure your printer settings are set to 100% scale or actual size.
Using your chosen fabrics, cut out your banner flags. You’ll need two fabric pieces for each completed flag.
For example, if you’re spelling HAPPY BIRTHDAY, you’ll need 13 pairs of banner flags prepared.
I highly recommend batching all of your cutting first. It makes the assembly process much smoother.
Step 2: Prepare Your Letters
This step has a couple different ways to go depending on your preferred method: using fusible web or skipping it altogether.
Option 1: Using Fusible Web
Trace your letters onto the paper side of your fusible web. Remember to mirror your letters while tracing.
Once traced, fuse them to the wrong side (usually the back) of your chosen fabric according to the manufacturer’s instructions.
Cut out your letters, but don’t peel the backing just yet.
Option 2: No Fusible Web (This is the method I used!)
Trace your letters directly onto the right side (usually the front) of your chosen fabric. No need to mirror your letters for this method.
Once traced, carefully cut out your letters.
That’s it. Simple and straightforward.
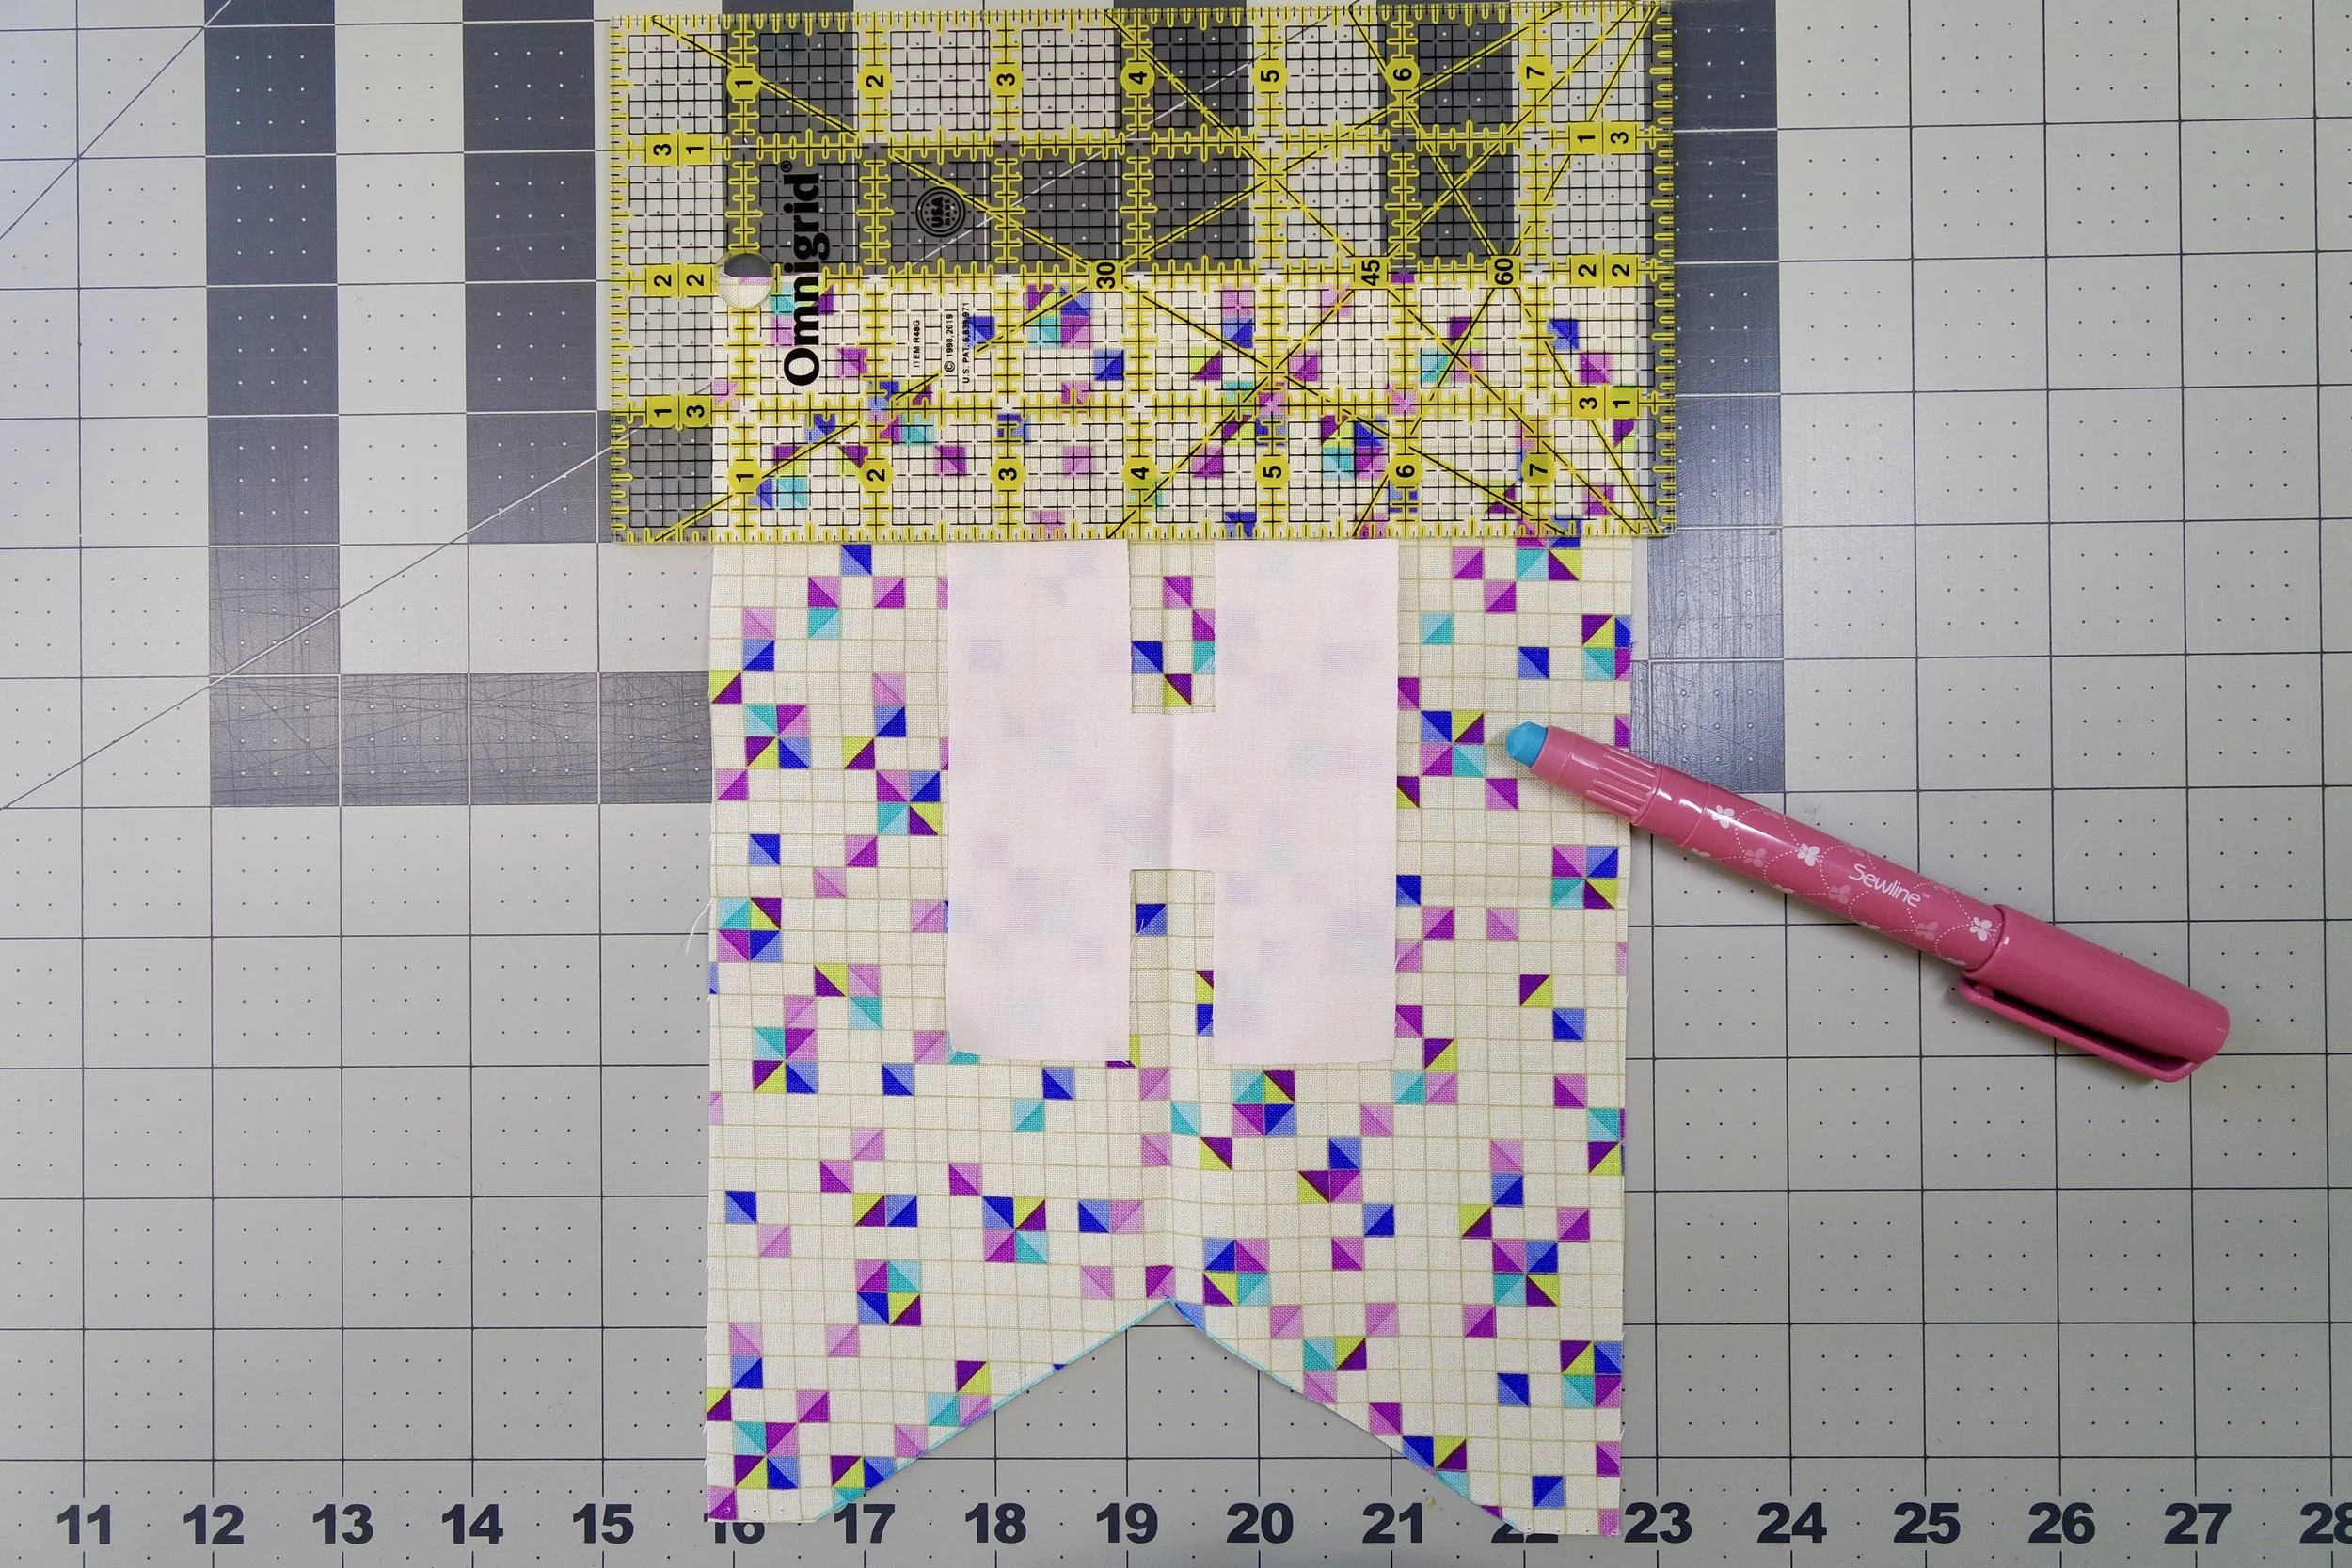
Step 3: Center Letters on Each Flag
Fold each flag in half lengthwise and gently press to create a center crease.
Repeat this step with each letter as well.
Using a ruler, measure 2” down from the top of each flag.
Place your letter onto the flag, matching the center crease of the letter with the center crease of the flag.
If you used fusible web, now’s the time to remove the backing paper and fuse the letter in place with your iron.
If you traced your letters directly onto the fabric like I did, you can pin your letters or use a glue stick to baste them before stitching.
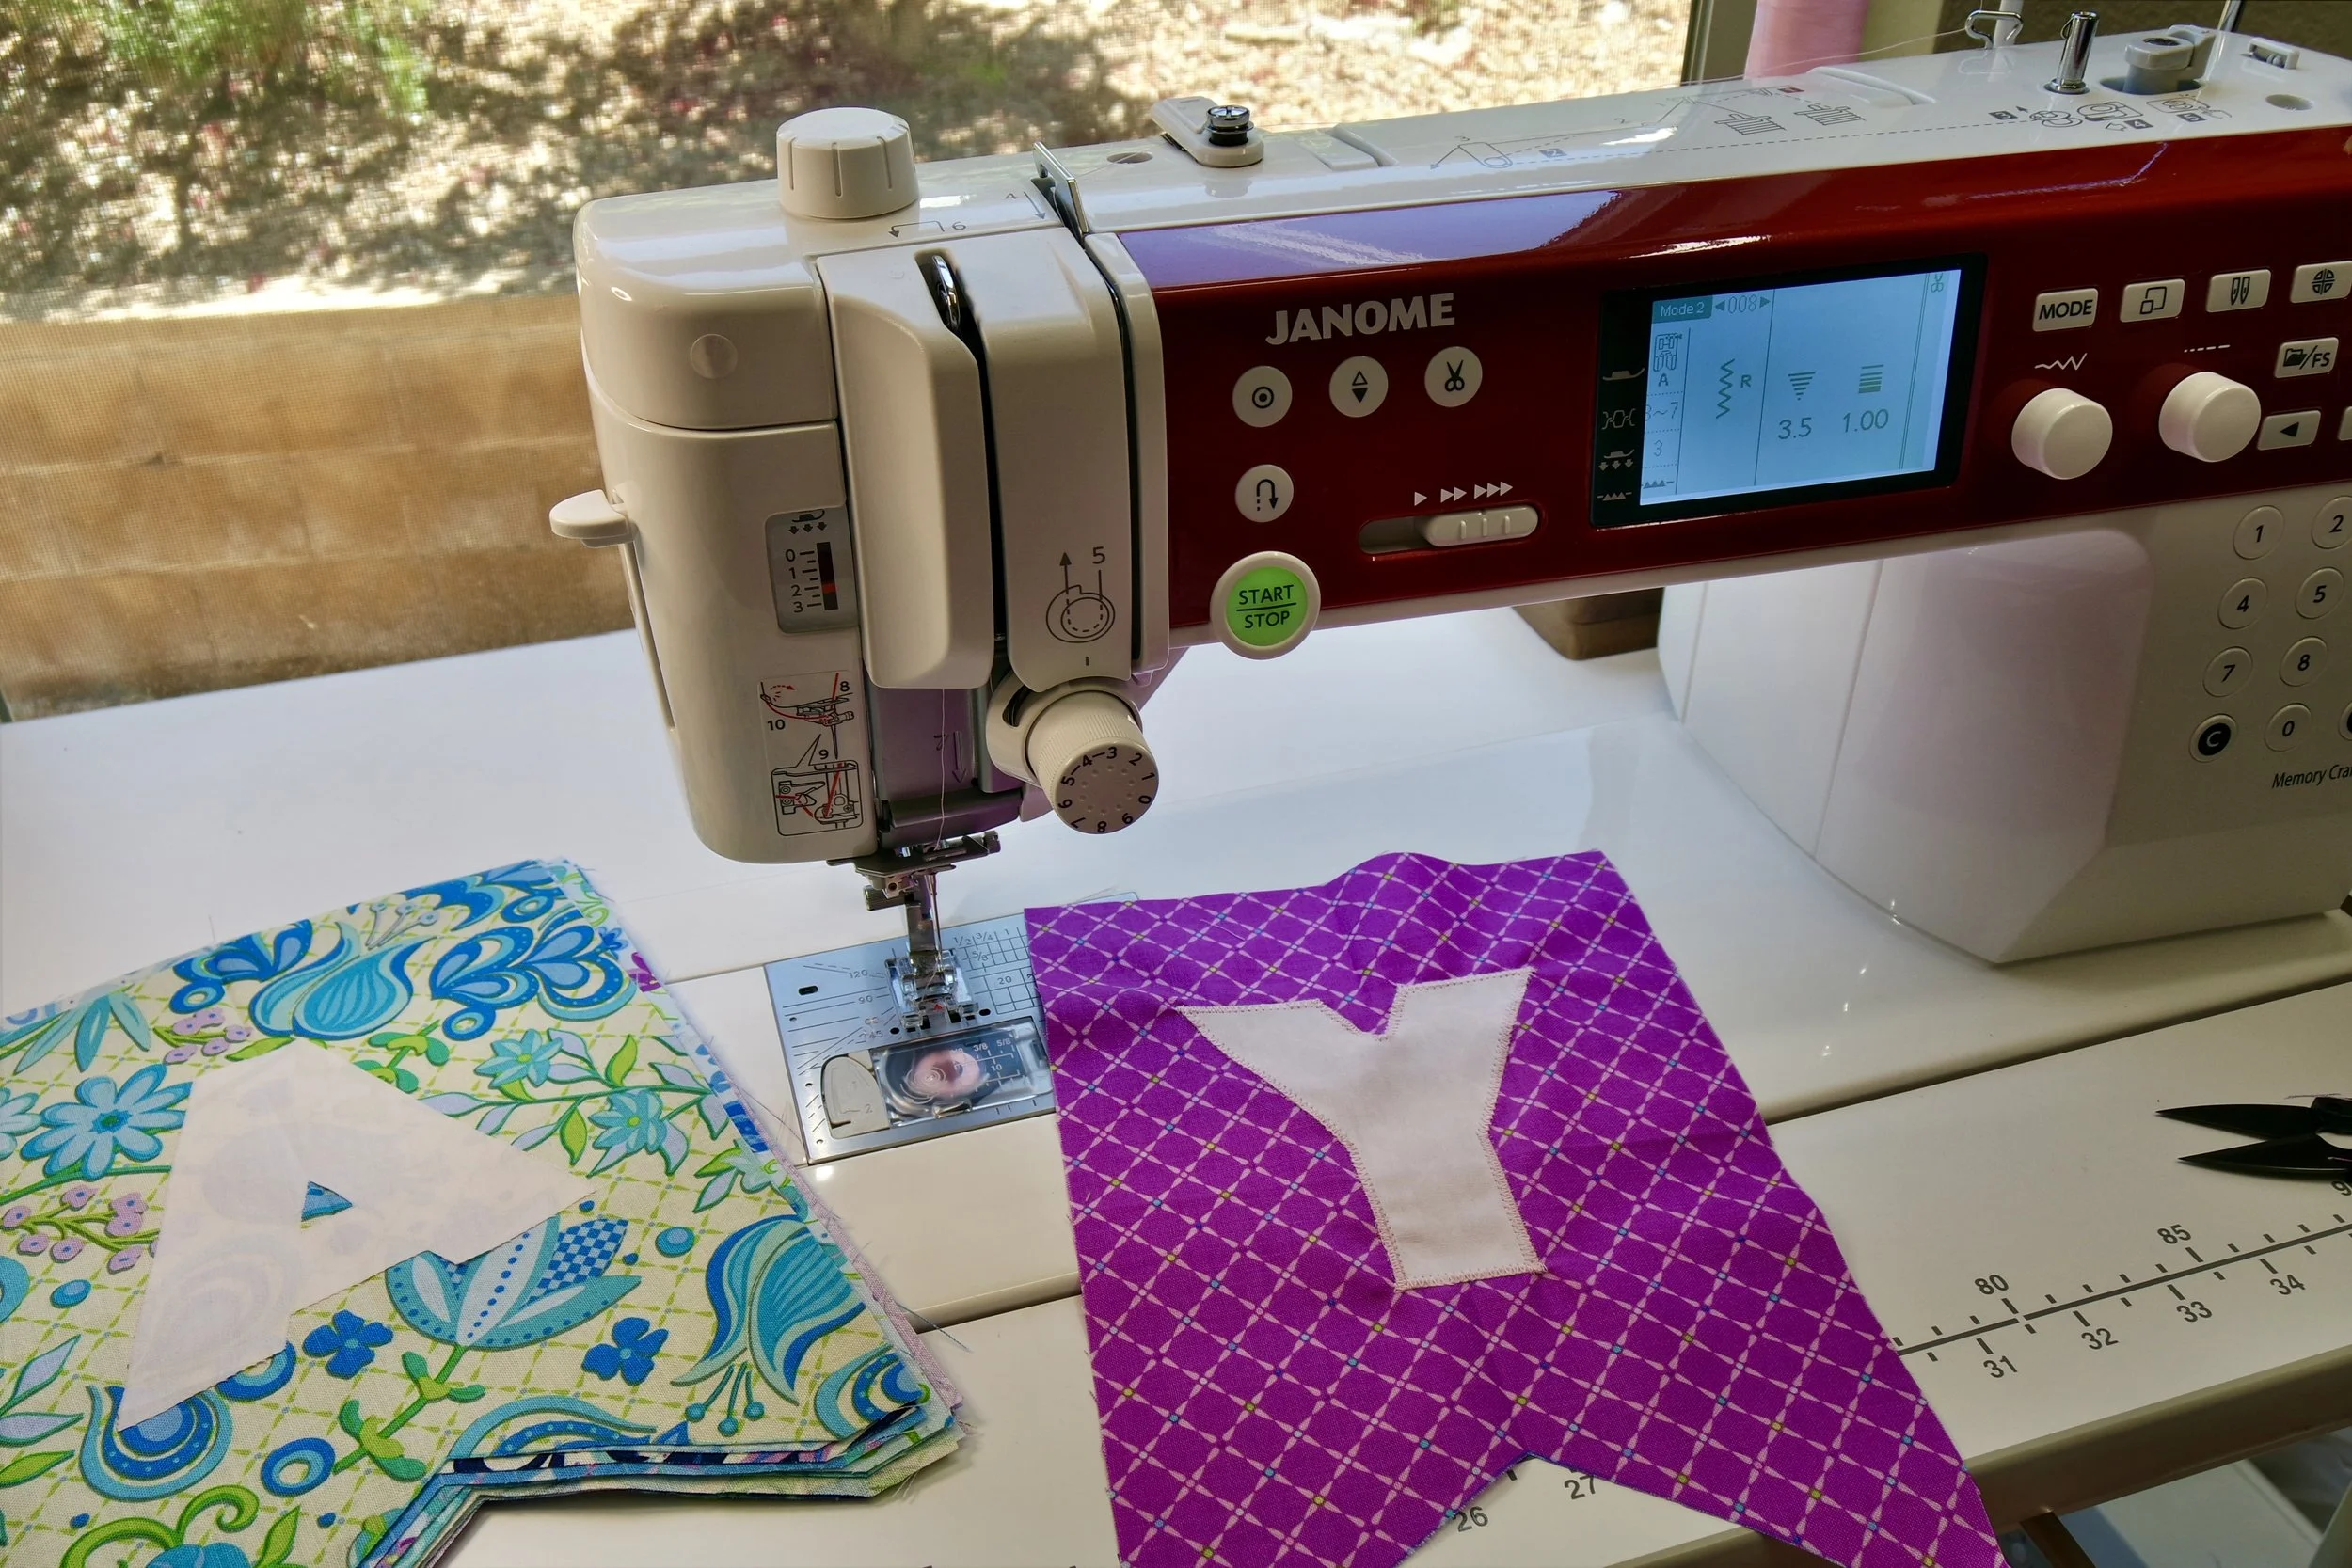
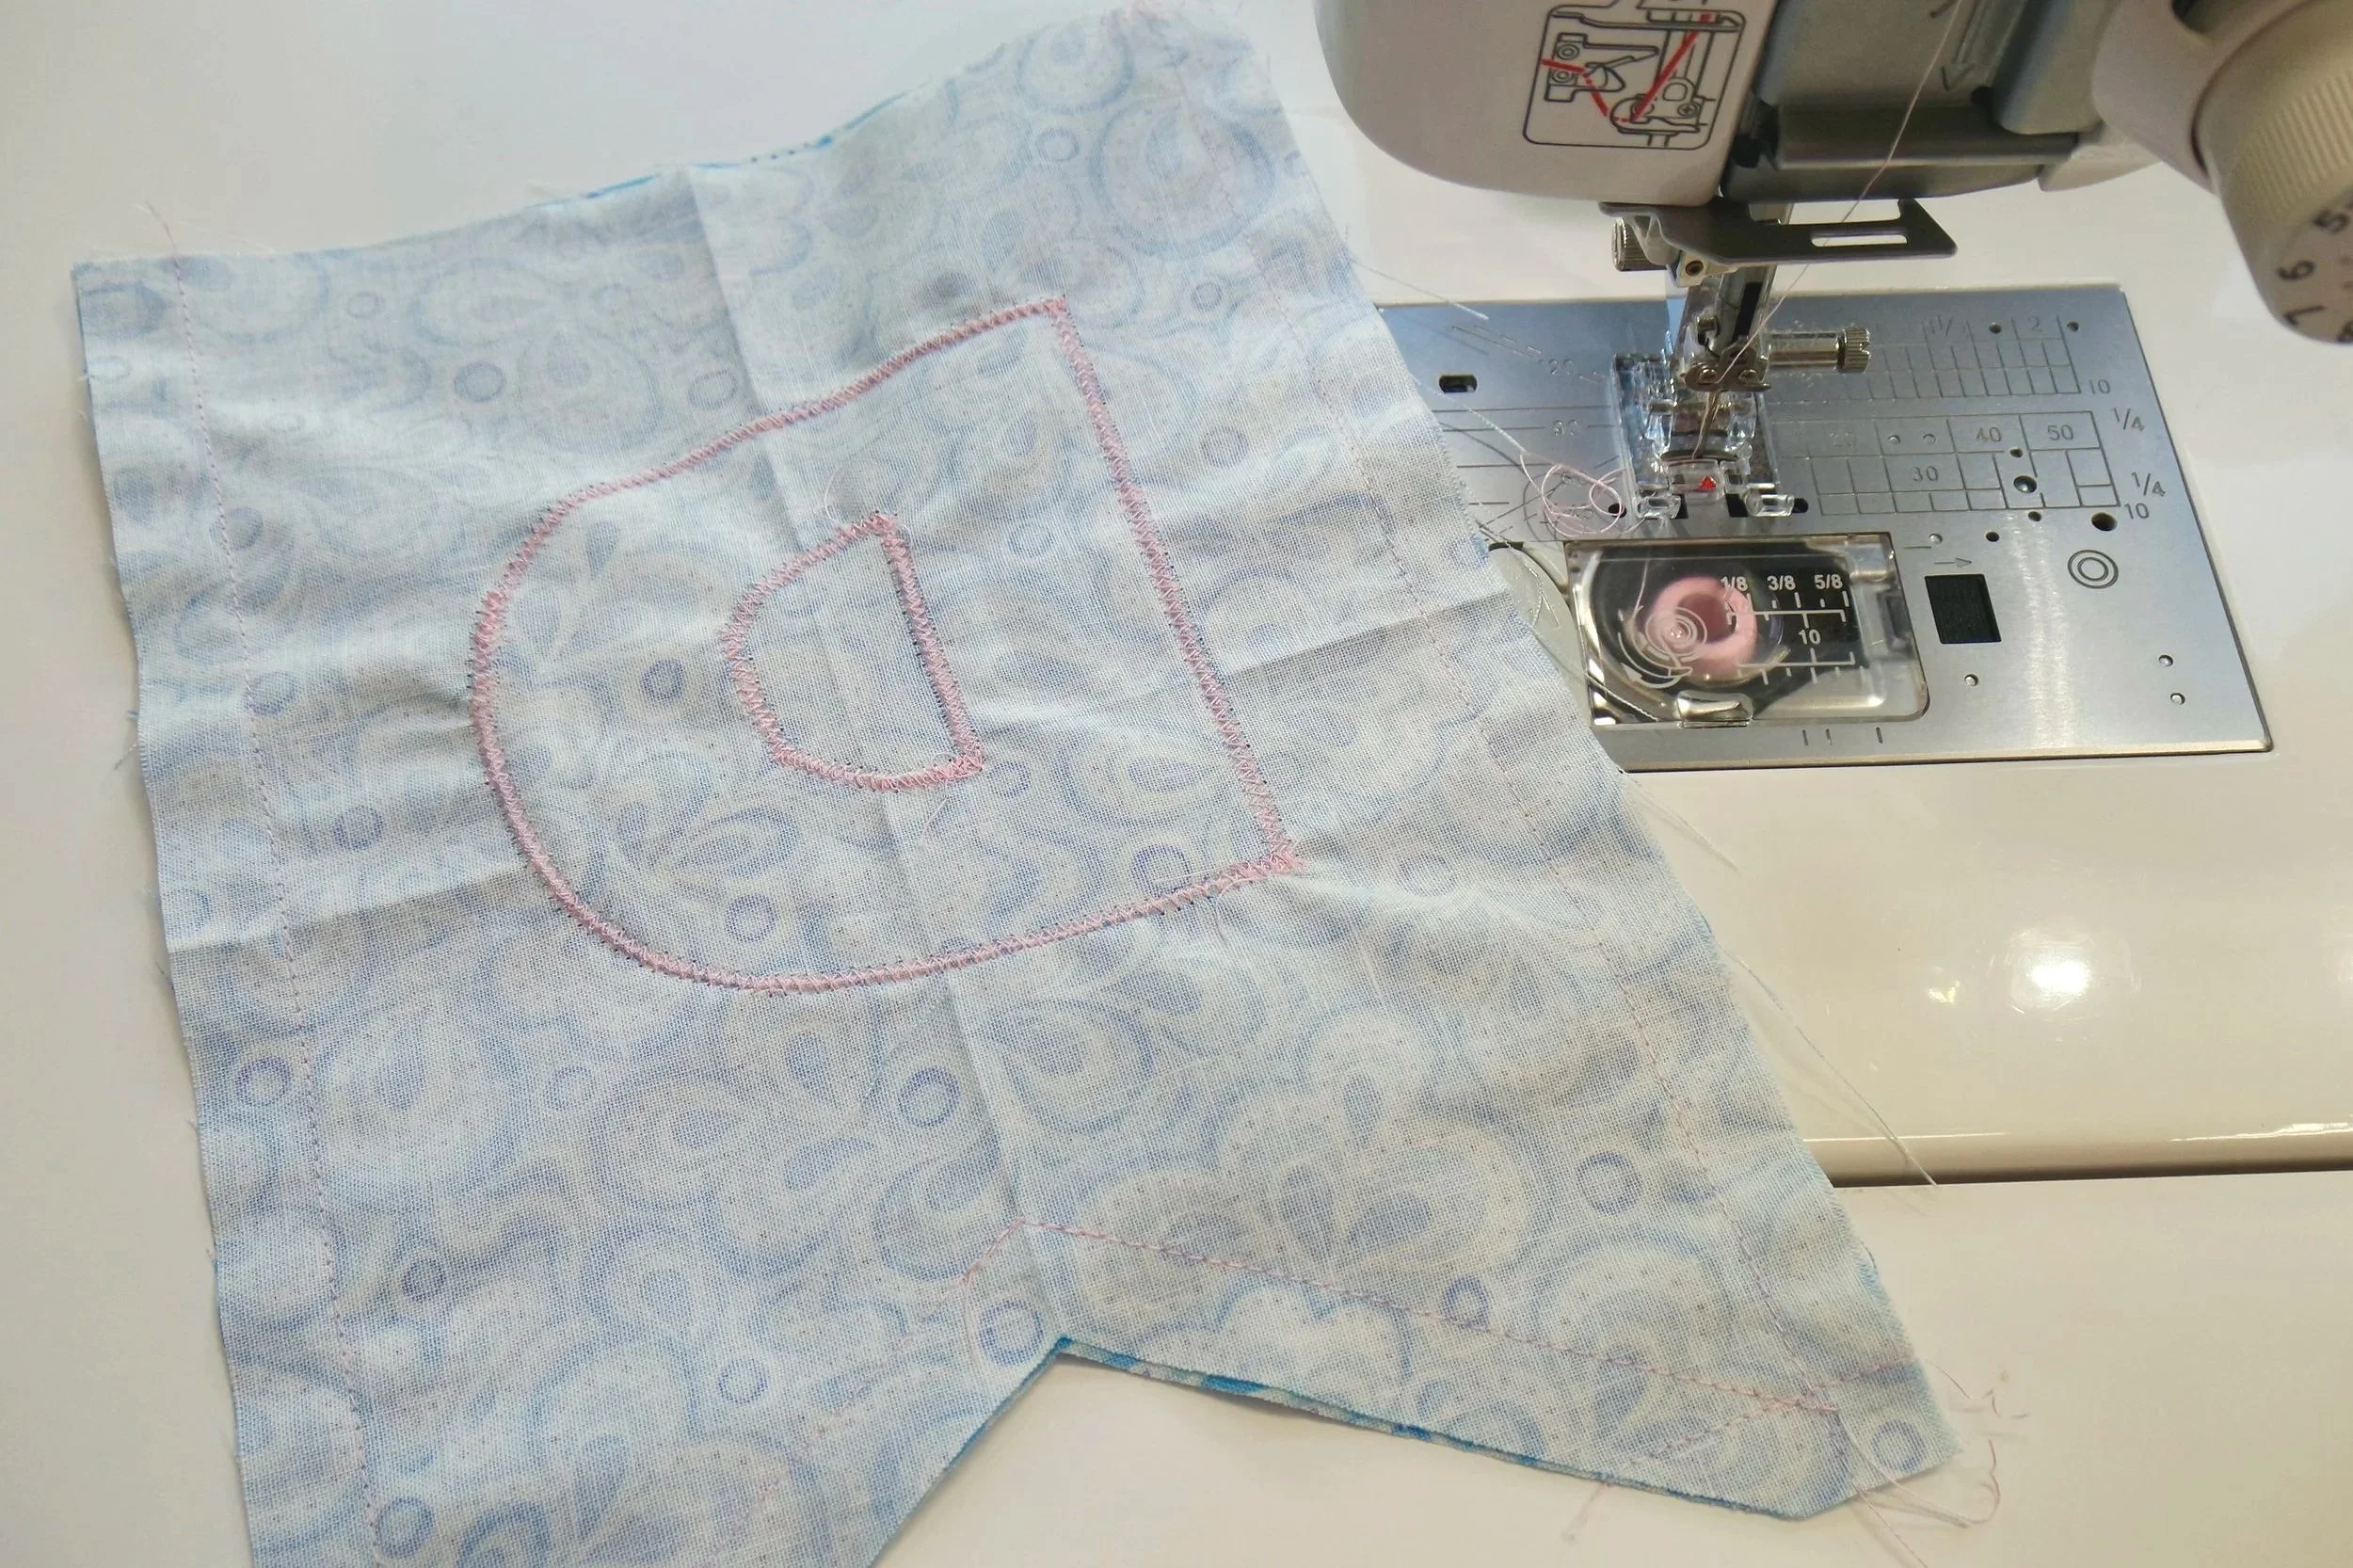
Step 4: Stitch Your Appliqué Letters
Using your favorite appliqué stitch, sew each letter onto one piece of each flag only.
Important: Do not stitch your letters onto both pieces of the flag pair. You’ll be assembling the back piece later.
On my Janome MC 6550, I used a simple narrow zigzag stitch with a 3.5 width and 1.0 length. I stitched around each letter twice for extra security and a slightly bolder finished look.
Step 5: Assemble Each Flag
Place both pieces of each flag right sides together. Pin or clip in place if needed.
Using a straight stitch, sew 1/2” around the perimeter, leaving the top of the flag open. I like to use a slightly shorter stitch length here, around 1.5-1.8.
Trim your seam allowance down to about 1/8” from the stitch line.
Turn your flag right side out through the top opening.
Optional: Use a pencil, chopstick, point turner, or similar tool to help push those corners out nice and pointy.
Give your flag a good press to flatten everything out.
Step 6: Finish your banner…finally!
Using about 4–5 yards of bias tape, find the center of the tape by folding the full length in half.
Pro tip: The longer your bias tape, the more wiggle room you’ll have later for hanging your banner. You can always cut off any excess, if you wish.
Next, find the middle letter flag of your phrase. For example, in HAPPY BIRTHDAY, the middle letter is I.
Starting with that center letter, tuck the top of the flag into the bias tape at the center mark you created. Pin or clip it into place.
From there, continue working outward, clipping the remaining flags into the bias tape and leaving about a 1” gap between each flag. Once all of your flags are clipped into place…
MAKE SURE YOU SPELLED IT CORRECTLY!
Seriously. Now is the time to check 😅
Using a straight stitch, sew along the entire length of the bias tape, making sure to catch both sides as you sew.
And you’re done!
You just made a reusable handmade party décor that can come out year after year for birthdays, celebrations, and future family traditions.